Saturday, 4 July 2015

Gardening Apron and Deliveries

This has been a great week.

Firstly, lots of things arrived in the post (and I love getting orders delivered in the post):
- My copy of 'Love At First Stitch', which poor Royal Mail have been trying to deliver to me for about a month and a half. I started reading it as soon as it arrived, and I already love it!
- A rotary cutter, to stop me cutting wobbly lines with my scissors (in theory, anyway).
- The amazing and adorable purple dinosaur fabric from the Natural History collection by Lizzy House. Purple and dinosaurs, together, in one fabric. It's pretty much my ideal pattern.
And yesterday, my colleague gave me the ruler you can see at the top of the picture. It belonged to her Mum, so I was really humbled that she gave it to me, and I now have someone else's heirloom alongside my own, which is lovely. It'll also make measuring things a heck of a lot easier than using my 30cm ruler!

The second reason that this has been a great week is that my sewing machine was fixed. It's been having problems with tension, so I gave it a clean, then realised a lot of the tension problems came from having too long a stitch length.

The manual for the Singer 28k says that to shorten the stitch length, you turn the screw 'outwards'. I took this to mean clockwise, towards the hand wheel. After a couple of days of trying it, getting confused, then comparing the different stitches, I realised that I had assumed wrong. Unfortunately, after I'd had this revelation, the screw on mine became stuck; on 4mm stitches, too! I tried turning it, with no luck; but after getting my boyfriend to help, carefully turning it with the wrench, it moved and can now be turned by hand again.
So, to summarise: to shorten the stitch length on a 28k, turn the screw anti-clockwise. To lengthen it, turn clockwise. It might take a bit of effort, like it did on mine!

And finally, this week was finished off perfectly because I finally made my gardening apron! I've been wanting to make this for ages, since I first saw this tutorial on the Hobbycraft blog. Here is my finished apron:
And here it is modelled by me, with some of my gardening tools in. I opted for three pockets and lengthened them too so that I would be able to carry my forks, trowels and other tools in it, and it worked! It even fits my new gloves in, too.
So I am very happy this weekend, despite the heatwave we're having in England. Hopefully next I'll be attempting a headscarf/headband, and then after that the plan is to make the cover for my sewing machine and its 'coffin lid' box. Although I do also have plans for a bag, too, so we'll see what happens. :)

Wednesday, 24 June 2015

The Start of the Big Clean

Did you ever do something you were really proud of, then learn something new and look back on it with new eyes?
I was so pleased with my last post, and there's no way I'll be editing it. However, one thing has come to light that has made me look again at my pictures. The dust and oil!

Having got the thread I needed (amazingly, I ran out of purple), I was trying to sew my current project last week, but was having tension problems with the Singer. No matter how much I turned the screw, the tension on the top thread was far too tight. I battled with it for a bit, then did as I've been told by a lot of people; walked away and had a cup of tea, and then went to youtube.

And it turns out that the tension problems were most definitely due to the poor old machine needing a good clean. I'm aiming to clean it in stages and take my time to do it properly, so I've only looked at the tension discs so far, but they needed looking at the most. It's no wonder the machine was struggling, the tension spring had got stuck to the metal plate! It looks like the oil used on it last time had just stuck them together, so the tension was essentially stuck, too. Nothing a few cotton buds couldn't sort out, but I need some metal polish to finish the job properly.

Once I'd started learning, I was amazed by how much of the machine can be cleaned, and suddenly saw my machine in a new light. I also realised how much of it can be removed and then reassembled once it's clean. There was me viewing it as a solid mass that shouldn't be tampered with. The more I learn about this machine, the more I'm humbled by how amazingly well made it is. So the plan now is to clean it in stages, taking pictures where I can, then (or possibly simultaneously) finish making my garden apron, which I will also post pictures of as soon as it's done. At the minute, it looks like two fat quarters and a pinned-on piece of bias binding.

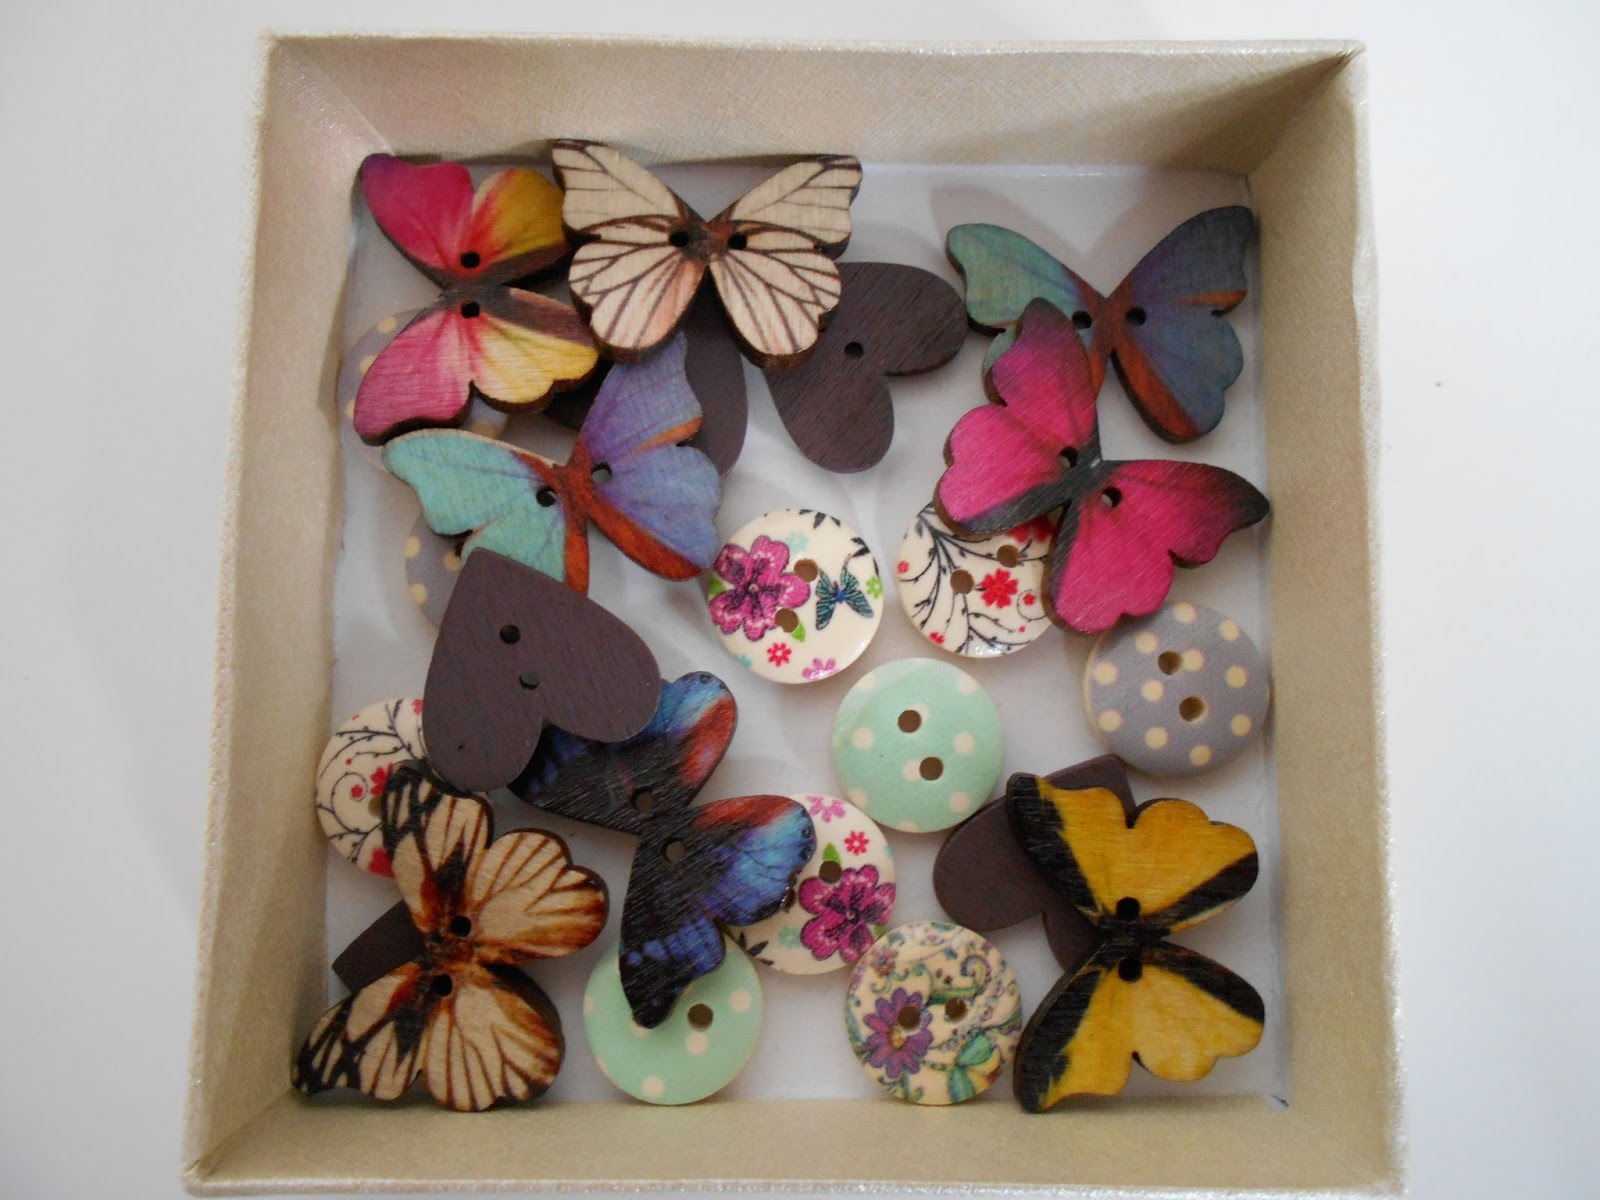
But I do have something to share today. We went on holiday to Weymouth last week and went into the Brewers Quay Emporium. There was so much lovely stuff in there, and I bought the most amazing selection of buttons I've ever seen. Aren't they gorgeous?
It's purchases like these that make me want to get sewing, so I can make something to attach them to! :D I have plans, and I'm really excited to get learning and sewing.